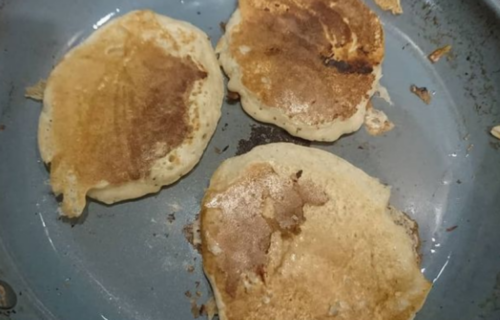
A first attempt at homemade fish fingers!
Ingredients

White fish skinned, filleted and cut into fish finger sized strips
Breadcrumbs – I made my own by blitzing ends of loaves that had been hanging around in my freezer.
Beaten egg – start with one and see how you go
Plain flour – I used wholemeal flour
Freshly ground pepper
The amount of breadcrumbs, egg and flour needed will be proportionate to the amount of fish bought…
Method
- Preheat your oven (I had mine on anyway to cook some chips)
- Prepare 3 plates – one filled with flour, another with breadcrumbs and another with egg
- One by one (or a load together if you run out of patience and time as I did) dust the fish strips with first flour, then egg, then breadcrumbs.
- Lay them out on a tray to put in the oven dotted with butter and grind some pepper over them.
- Check on them after about 5 to 10 minutes, turn over if necessary and take out when cooked (I think mine cooked within less than 10 minutes, but I was slightly distracted by my kids!)
- Serve hot with chips and sliced raw carrots (because you have run out of frozen peas or because you are trying to avoid the plastic bags frozen peas come in – whatever works 🙂 )
I decided to try cooking them in the oven dotted with butter as I wasn’t too keen on the idea of frying them and they turned out ok. I liked them, our student liked them (well he ate them all and didn’t complain) and the kids liked them. My husband didn’t but he is really fussy – next time I will probably fry his…
The lovely mum’s tips were (in case you were wondering) to marinate the fish first in lemon juice for a while, making sure you dry it off before coating it in flour, egg and breadcrumbs and to leave the raw fish fingers once coated in the fridge for 15 minutes before cooking as it helps the breadcrumbs to stick to the fish better. Plus I think she mentioned adding herbs or spices to the breadcrumbs (but even if she didn’t I think it would be a nice idea…).
As far as cost goes, I spent about £10 on the fish and I managed to get 2 1/2 meals for the 5 of us out of it which isn’t bad considering the quality of the fish inside your fish finger! I think making fish fingers is very much worth the money and the effort!
So far I have given up shampoo and supermarkets as part of My Year of Eco Challenges and now I’m preparing to give up plastic too. If you have a moment I would really appreciate it if you would consider sponsoring me with an action on my DoNation page. Also if you liked this post please click like on Facebook and follow on Twitter – thanks so much!